Dave's Faux Finish Page
Foreword
This page is intended for those interested in finishing walls using a Faux
Finish techniques--and, in particular, interested in leather-look finishes.
 My house is a large one-story ranch built in 1977. As was true for most
70s houses, the woodwork is simple, and painted antique white in all rooms
except in the Family room and in an office. All the walls had also been
painted off-white with a flat latex and I was convinced that a faux finish
would add some interest and highlight the mostly white woodwork.
My house is a large one-story ranch built in 1977. As was true for most
70s houses, the woodwork is simple, and painted antique white in all rooms
except in the Family room and in an office. All the walls had also been
painted off-white with a flat latex and I was convinced that a faux finish
would add some interest and highlight the mostly white woodwork.
The Navy Dining Room
My first experiment with faux finishing techniques was with the dining
room an effort to do a navy blue leather look finish while keeping the
trim off-white. I purchased a Ralph Lauren leather finish kit, the main
item being an expensive stippling brush that alone retails for nearly $60,
along with a gallon of their Hacienda blue and a gallon of the Ralph Lauren
Canterbury Blue glaze. I followed the instructions carefully, even viewing
their video,but I was dissatisfied with the results. The glaze seemed to
have too much of a pigment in it that was nearly black, which left ugly
black streaks on the walls. Unhappy with these results, I instead developed
my own technique, but still using the leather-look stippling brush from
Ralph Lauren but using Benjamin Moore (BM) premium Aqua-Velvet finish in
the Eggshell gloss, and mixing my own glazes using the Benjamin Moore (BM)
latex glaze as a base.
the steps were as follows: First, select two (or possibly three) colors
that are very close together on the color charts--generally the lighter
colors are at the top of each chart with the darker colors below. Use the
darker of the two colors as your base coat, painting the entire room with
the eggshell finish.
I used a lot of masking tape, and even used two inch wide blue masking
tape to tape the ceilings in rooms that had no crown molding. This was
to keep the paint off the white ceilings when the stippling is done,
Subsequently I made a third glaze for the Dining Room using about a
cup of BM HC-156 paint mixed with about 2 quarts of the BM latex glaze.
This was applied to the wall unevenly using a sea sponge in a randomly
shaped area about 3 feet across, and immediately stippled with the RL brush.
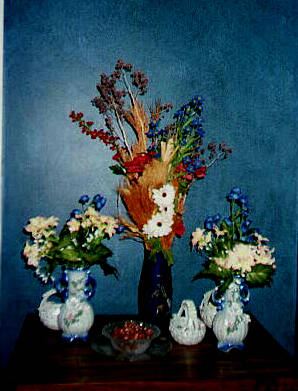
The photo above gives an indication of how the surface now looks. It turns
out that the RL Canterbury blue (the glaze from the previous unacceptable
effort was an excellent undercoat for the home made hacienda blue glaze.
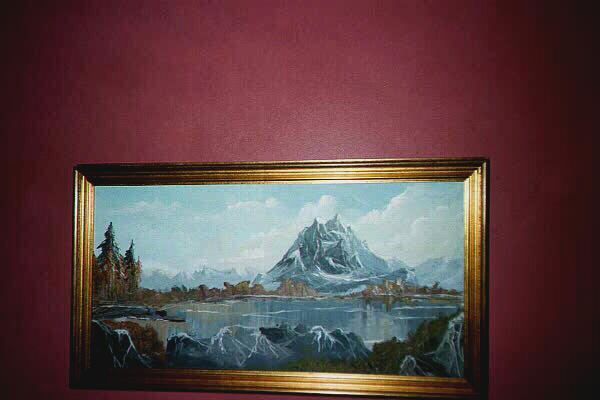
Here's another photo that further illustrate the technique.
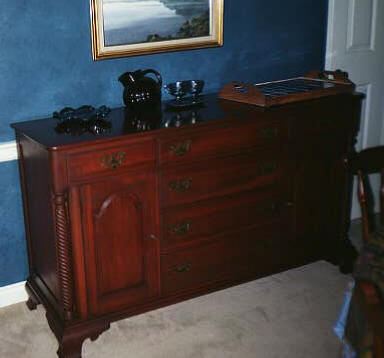
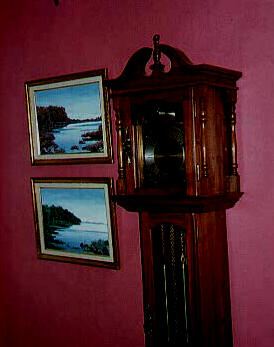
Here the blue faux leather-look paint treatment contrasts with the
solid cherry sideboard built in
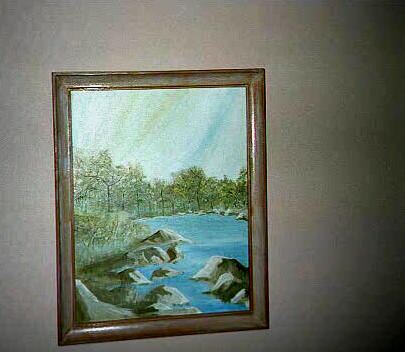
the 1950s by the Consider H. Willett Furniture Company in Louisville, KY.
information on the Consider H. Willett Company of Louisville Kentucky (particularly Wildwood cherry pieces)
click here
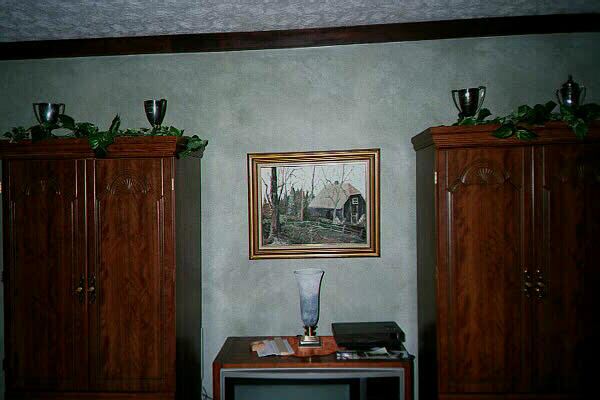
The Den/Family Room
The next room to tackle was the den or family room. This is a large room
of the Kitchen with a brick fireplace on one wall, and, like most 70s family
rooms, it had originally been paneled with a dark cherry colored grooved
paneling. Prior to my purchase of the house, the paneling grooves had been
filled with drywall compound, and the room painted an antique white. The
walls were uneven in poor shape, and traces of some of the grooves were
still visible in spots. I debated about the need to redo the room with
new drywall, but instead tried the faux finish technique. The results came
out excellent I think. The faux finish effectively hides any unevenness
in the old paneled walls.
The base or undercoat here was again Benjamin Moore Aqua Velvet Eggshell
in a bronzy 90s green #1511. One gallon was enough to paint the large room.
I then mixed about a quart of liquid glaze with a cup of each of the two
lighter green on the BM paint chart #1509 and 1510, so I had two quarts
of colored glaze of different colors. I again applied the glazes at the
same time, using two different sea sponge, splotching them on randomly
un an unevenly shaped area about 3 foot across and down, starting at the
top of the wall and working down. Then all of this was stippled with the
RL brush so that the glaze coat completely covered the base coat. The results
are illustrated here.
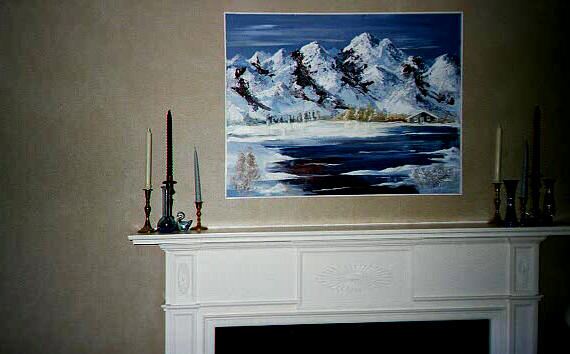
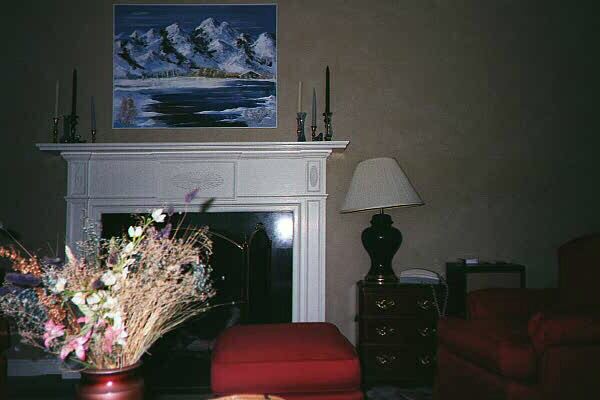
The Living Room
Filled with the success from my family room experiment, I moved on to the
living room. Unlike the Family room walls, the living room walls were drywalled
and in very good shape. I chose a base coat in a camel eggshell BM # 1147
and painted the walls. The top coat glaze was made with about two quarts
of glaze mixed with only a very small amount of the lighter color--less
than a cup of BM #1146. Interestingly, 1146 is quite a bit lighter than
1147, The one color of glaze was applied with a sea sponge and stippled.
in small sections. The glaze left randomly placed lines between the sections
that look as lot like marble. This seems to happen particularly when there
is very little color in the glaze. The overall effect is very nice (See
below).
Entry Hall/Foyer
The Entry hall or Foyer was next. The color I chose is similar to the chairs
in the Living room--variously called deep coral, cinnabar, or persimmon.
The two colors--BM #1299 and BM 1298--are very close together,and the darker
of the two was used as the base coat. The technique is very subtle with
these two colors. Again, about a cup of 1298 was used per quart of glaze
and the application technique was the same.
Kitchen
The Kitchen has hand painted "wallpaper" (hand painted by me) using colors from the adjacent den. The leaves and
flowers are stenciled with rubber sponges, using lefty over glazes from the den.
The flowers repeat the glaze color of the dining room. Finally, I added stems (free-handdrawn) and highlighted them
with antique white trim paint.
Bedrooms and Bathrooms
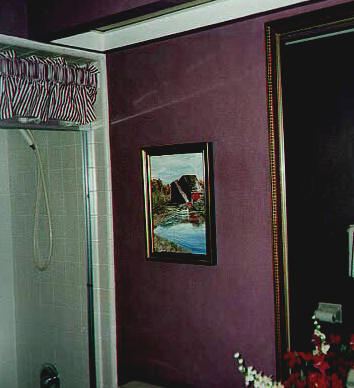
The hall bath was painted a deep mauvy red,BM 1265 and 1266 employing the
exact same techniques, which contrasts sharply with the almond tile and
fixtures. The half bath has a gray ceramic tile floor and was painted in
a very fifties style rose (remember the fifties gray and rose!) BM 052
and 053.
The master bedroom and bath are in a peachy color-- BM 107 and 108--very
subtle.
The Guest bedroom (bedroom 2) is in a very subdued beige
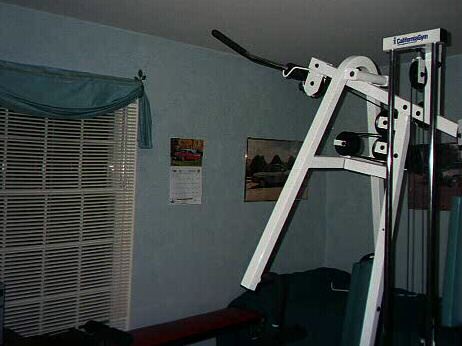
 The exercise room (bedroom 3) is in a grayed blue-green
The half bath is a '50s Rose

Questions?
Got questions or comments? E-mail me
Some Tables I built
I have been building some tables using tiles for tops. Here are some
pictures.
The Gazebo Table
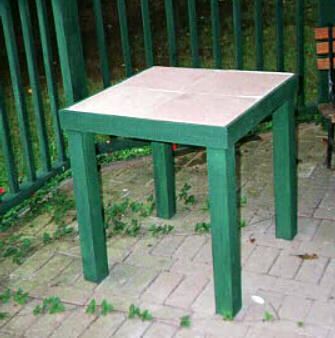 Here is a fun table for the gazebo
I built.
The table consists of a 2 x 2 foot sheet of 3/4 inch plywood. The legs
are made of 24 inch long poplar 3 x 3s available at Home Depot precut.
The plywood is simply screwed on to each leg with 3 inch long drywall
type screws. The top is made from four pieces of Mexican Saltilo tile,
available at Lowes for under a dollar each. These are glued to the
plywood top with a tube of liquid nails. The trim that covers the
plywood and tile edge is made of 1 x 4 half-sawn poplar,available at
either Lowes or Home Depot. I mitered the corners for a neat look, and
attached with finish nails. I put several coats of a clear polyurethane
varnish on the tiles to make them water resistant, then grouted them with
peach-colored grout. The table is stained with the Evergreen Cabot stain
to match the gazebo. I will use the table indoors in the winter. Total cost
was under $50, with the largest expense being the poplar legs, which
were about $7 each. Have Fun!!!
Here is a fun table for the gazebo
I built.
The table consists of a 2 x 2 foot sheet of 3/4 inch plywood. The legs
are made of 24 inch long poplar 3 x 3s available at Home Depot precut.
The plywood is simply screwed on to each leg with 3 inch long drywall
type screws. The top is made from four pieces of Mexican Saltilo tile,
available at Lowes for under a dollar each. These are glued to the
plywood top with a tube of liquid nails. The trim that covers the
plywood and tile edge is made of 1 x 4 half-sawn poplar,available at
either Lowes or Home Depot. I mitered the corners for a neat look, and
attached with finish nails. I put several coats of a clear polyurethane
varnish on the tiles to make them water resistant, then grouted them with
peach-colored grout. The table is stained with the Evergreen Cabot stain
to match the gazebo. I will use the table indoors in the winter. Total cost
was under $50, with the largest expense being the poplar legs, which
were about $7 each. Have Fun!!!
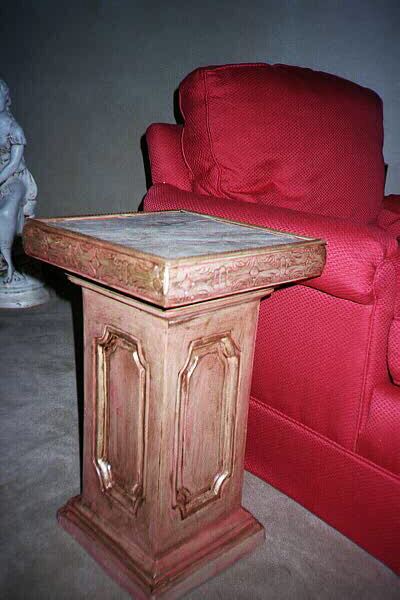
A Pedestal Table
The pedestal table uses as its base a plaster pedestal. (I got mine at Wal Mart in the
Crafts dept. for $11.96.) I then painted the pedestal uing left-over paint from my
room painting. First the Pedestal was painted a base coat of Camel from the Living Room.
This was topped with a glaze made using a mixture of Benjamin Moore latex glaze colored
with a little bit of the Cinnebar (BM 1299). This was allowed to dry. The third coat is a tung oil-based colored
varnish put on with a rag, and allowed to collect in the grooves. Then highlights were added
using a gold wax antiquing glazer, applied here and there with a fingertim. Finally a coat of spray polyurthane was
used to seal everything.
The top consists of a 12 x 12 inch square piece of medium density fiberboard--although 3/4 inch plywood could also
be used. A stocm molding was added around the edge (From Home Depot) and a Slate tile (Lowes) was glued to
the top with liquid nails. A thin strip of stock moldding around the top completes the table. These moldings were
given the same painting treatment as the pedestal base. Finally, the top was glued to the pedestal base with liquid
nails. This gives a nice table for drinks at armchair length.
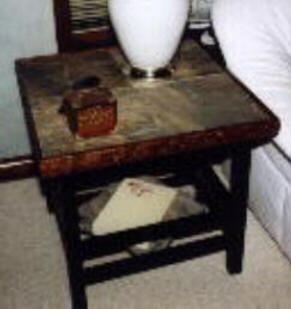
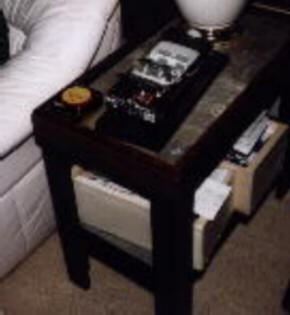
End Tables
Here are a couple end tables I built using slate tiles (Lowes) and stock moldings. The top the first table
is made of a 2 x 2 foot square of 3/4 inch plywood, trimmed with a stock molding, The frame is made of 1 x 2
poplar, painted with black enamel. The lower shelf is simple a grid of 1 x 2 poplar.
Long screws are used to hold the joinmts together, and glue. The second end tanble is made of 2 1' x2' pieces of
3/4 inch plywood. The legs are made to fit outside the plywoof pieces, so the slate tiles fit exactly with no cutting
needed. The top edge is made of half-sawn poplar stained, and a wood molding on top covers all the ends and
joints.
| Room |
Paint |
| Dining Top Glaze |
BM HC-156 |
| RL Glaze |
RL Canterberry Blue |
| Bottom Coat |
RL Hacienda Blue |
|
|
| ½ Bath Top Glaze |
BM 052 |
| ½ Bath Under |
BM 053 |
|
|
| Master Bedroom Bath Top Glaze |
BM 107 |
| M. Bedroom Under |
BM 108 |
| . |
|
|
|
| Guest Bedroom Top Glaze |
BM 1107 |
| Guest Bedroom Under |
BM 1108 |
|
|
| Living Room Top Glaze |
BM 1146 |
| Living Room Under |
BM 1147 |
|
|
| Hall Bath Top Glaze |
BM 1265 |
| Hall Bath Under |
BM 1266 |
|
|
| Entry Top Glaze |
BM 1298 |
| Entry Under |
BM 1299 |
|
|
| Family Room Top Glaze |
BM 1509 |
| Family Room Middle |
BM 1510 |
| Family Room Under |
BM 1511 |
|
|
| Exercise Room (Bedroom 3) Top Glaze |
BM 716 |
| Exercise Room Under |
BM 717 |
|
|
| Utility Room (Laundry) Top Glaze |
BM 372 |
| Utility Room Under |
BM 373 |
|
|
|
|
|
|
|
|
|
|
|
|
|
|
|
|
|
|
|
|
|
|
|
|